How to Do a Hip Thrust: A Complete Guide
Learn how to do a hip thrust properly. Master the setup, feet position, and hip thrust methods. Practical tips to avoid common mistakes.

Can you build big, strong glutes without the hip thrust? You can.
But why skip out on the hip thrust when it’s one of the few glute exercises to challenge your butt muscles most when they’re fully contracted? (I.e., it pairs perfectly with “glutes-lengthened-focused” squats, promising bigger and stronger glutes.)
Mm-hmm. You shouldn’t. So, to help you capitalize on your unfulfilled glute gains, here’s how to do a hip thrust.
How to do a hip thrust
We’ve broken down how to do a hip thrust into its individual parts, from setup to actual thrusting to common mistakes, and will bring you through it all.
Step by step.
How to set up the hip thrust
While there are many hip thrust variations, the specific 1 we’ll be covering in this “how to hip thrust” article is the barbell hip thrust with a bench.
Remember: barbell + bench.
Why, though? 2 main reasons:
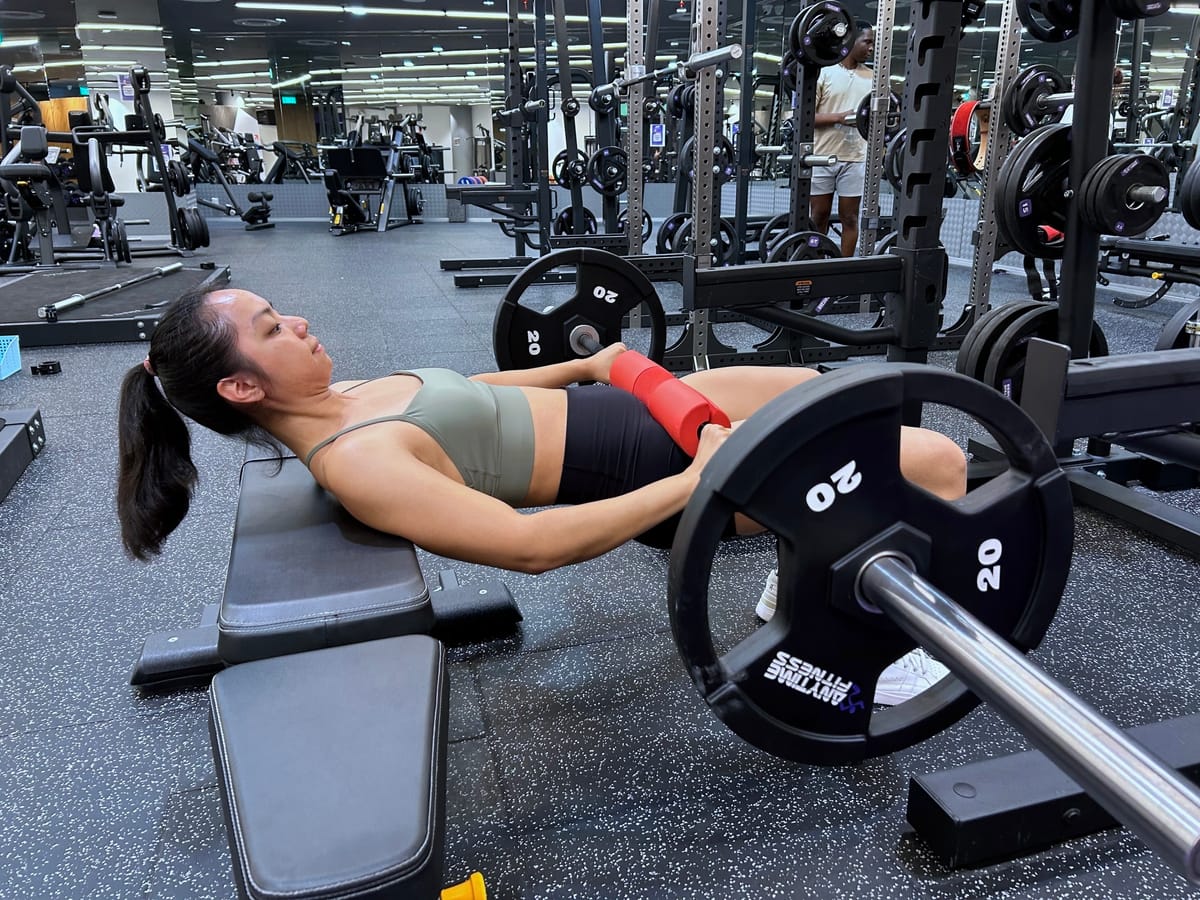
Before we get into things proper, here’s how the barbell + bench hip thrust looks:
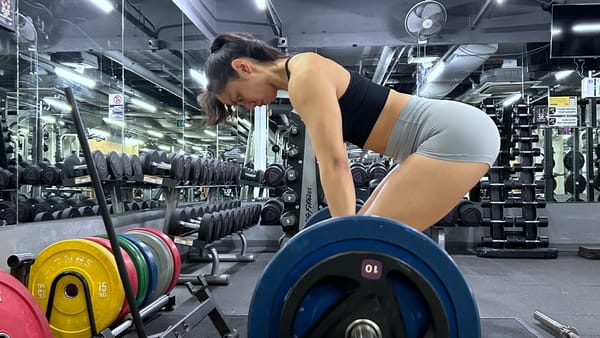
How to set up the bench
Ensure the bench is stable
Make sure the bench doesn’t slide back or tip over when you lean against it.
Please, please, please test with just your body weight before slapping weight plates on the barbell.
If necessary, anchor the bench against a wall or weigh it down with weight plates.
Position the bench just under your shoulder blades
The bench should land somewhere under your shoulder blades (the lower part of your scapular, to be exact).
At the bottom position, your torso will be leaning back about 45 degrees.
Here’s what that looks like:
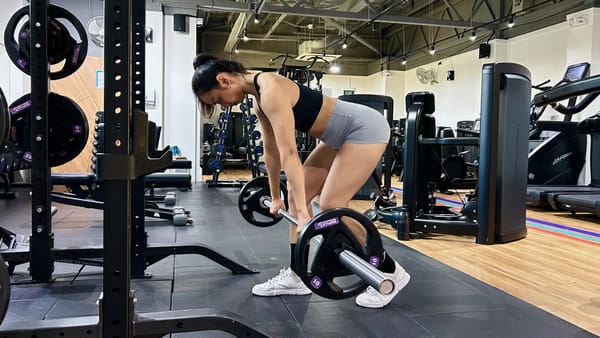
How to get the bar into position
Ensure the bar is high enough
The barbell should be high enough to roll over your thighs with room to spare. To re-emphasize: you shouldn’t feel like you’re in a panini press every time you roll the bar toward you.
If you need more height, try propping up the barbell with weight plates or rubber mats.
Use bumper plates if available
In addition to bumping (hey, check out that pun! 🤪) up the height of your barbell, bumper plates also make for a softer, quieter landing.
Use a barbell pad
Seriously.
Whatever you do, do not go without the barbell pad.
It’ll relieve the pressure on your hips, making it more comfortable and much easier to focus on contracting your glutes (instead of grimacing in pain).
Can’t find a suitable barbell pad in the gym? Alternatives include:
- Using an exercise foam pad or
- Folding an exercise mat to create a makeshift padding
Just make sure they’re dense enough to act as a cushion.
A piece of advice: it’s 100% worth it to invest in a barbell pad of your own; you won’t need to worry about availability, icky germs, or suspicious stains in general. Think about how good that’ll be.
Find a comfortable grip width
TBH, there’s no fixed rule here. Just use a grip width that feels stable and comfortable.
A good starting point? Roughly 1 palm’s width outside of your hips.
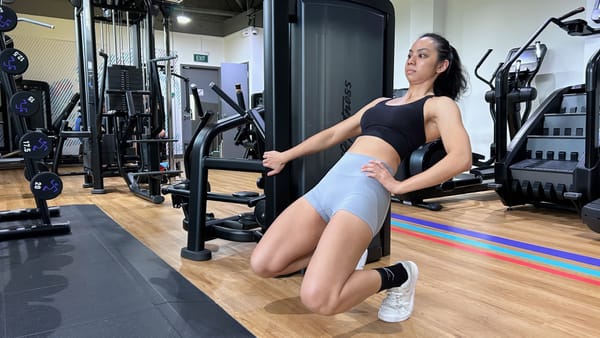
How to position your feet
Achieve vertical shins at the top of the hip thrust
To find the right distance between your feet and the bench for you (everyone’s “best” distance will differ), go into the top of your hip thrust and check for vertical shins.
Shift your feet forward or backward as necessary.
But wait a minute — why do you need vertical shins? Well, this position places your heels right under your knees, which:
- Enables efficient force transfer and
- Lets you reach full hip extension
In other words, ensuring vertical shins helps you achieve a full range of motion on the hip thrust and perform the movement efficiently.
In case you were wondering, here’s what happens when:
Here’s a video for better clarity:
Tip: if you struggle to maintain the right foot distance between sets, place a weight plate at the side to indicate where your heels are supposed to land.
Or just try this hack:
Position feet shoulder-width apart
Shoulder width is a good starting point.
But feel free to experiment with a slightly wider stance to see whether it helps you better “feel” your glutes. You want to find what’s most comfortable for you.
That said, a piece of warning: don’t go too narrow.
Anything narrower than shoulder width might be tricky to balance, especially when you use heavier weights.
How to perform the hip thrust
#1: Pick a hip thrust method
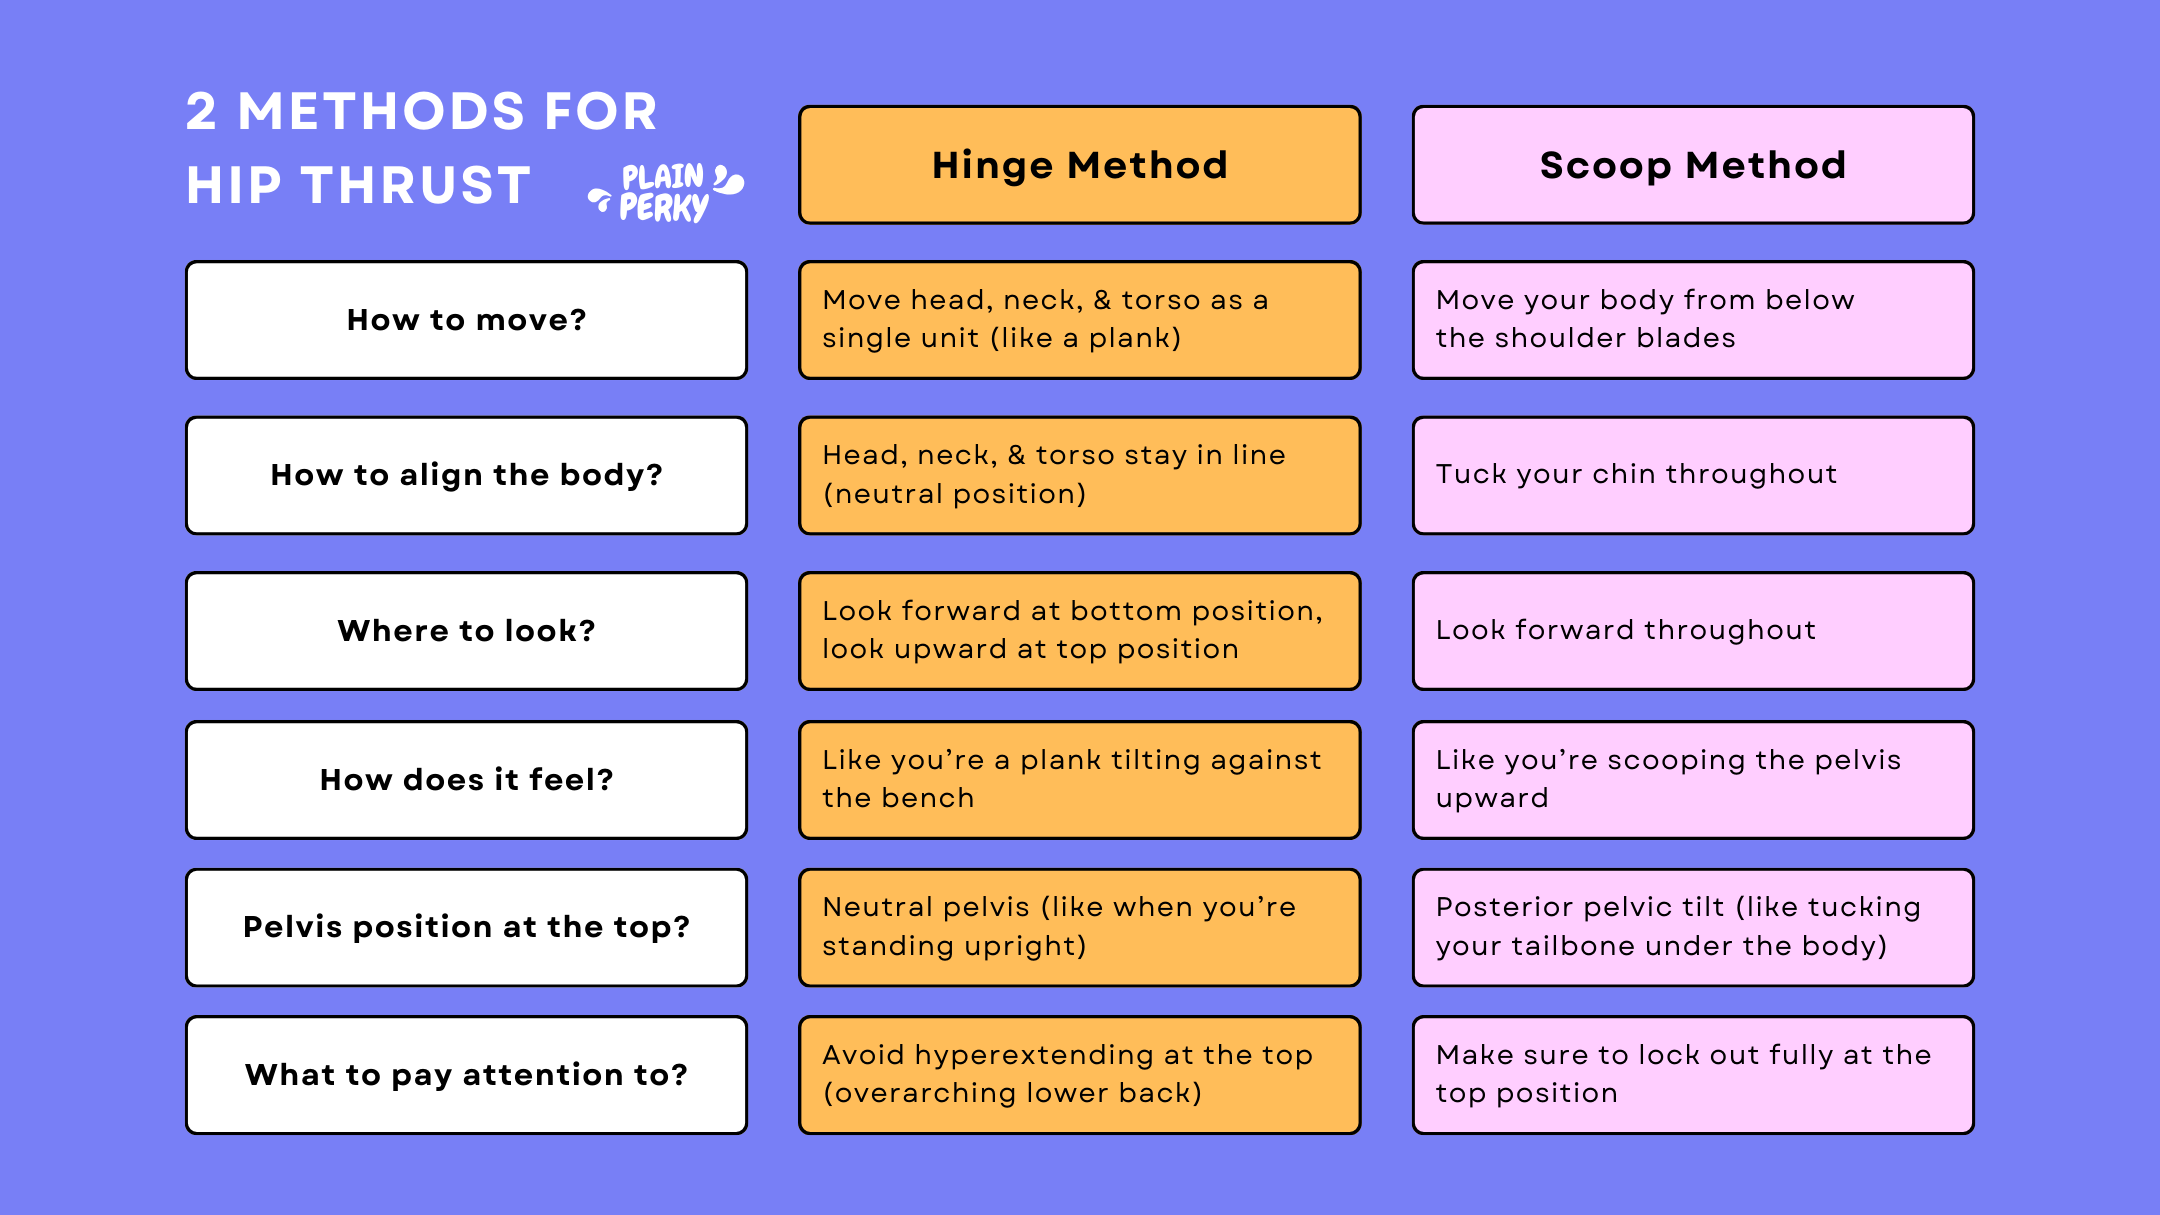
Interestingly, there are 2 hip thrust methods you can work with.
Neither is better than the other; which you choose should ultimately come down to personal preference — so do take the time to try both out.
Scoop method
Aka the posterior pelvic tilt (PPT) method.
Here, you’re thinking of quite literally “scooping” the barbell up with your hips, then posteriorly tilting your pelvis into lockout at the top position. Most of the movement happens below the shoulder blades.
Hinge method
Here, you’re moving your head, neck, and torso as a single, solid unit. To visualize the movement, think of your upper body as a plank pivoting against the bench.
Hinge vs scoop method for hip thrust
Exception: single-leg hip thrust
Note that you should only use the hinge method with the single-leg hip thrust (and any other variations of it).
That’s because using the scoop — compared to the hinge — method on a single-leg hip thrust exercise significantly:
#2: Thrust
At this stage, you’ve already done the lion’s share of the work. All that’s left is to thrust.
That said, there are still a handful of cues you need to be aware of to get the most glute gains out of the exercise. So here’s how to do the hip thrust effectively.
Brace your core throughout the movement
Think of it as “pushing” your core outward 360 degrees to increase intra-abdominal pressure.
This creates a strong and stable core during your hip thrust that’ll help reduce injury risk and enable efficient force transfer.
Focus on pushing through your heels, not the front of your feet
While subtle, this prevents the load from shifting from your glutes to the quads.
The hip thrust = a glute exercise, after all! If you’re struggling with this cue, try lifting your toes off during your reps; this might help you better feel the movement.
Contract your glutes fully at the top
Squeeze your glutes hard at the top. Make sure you reach full hip extension to get the most out of every thrust.
Common hip thrust mistakes
Excited to try out everything you’ve learned in this article?
Before you busy yourself with scooping and hinging and finding which works best for you, keep the following common hip thrust mistakes in mind (so you don’t make them!)
#1: Using a bench that’s too high or low
If your bench is too high, you won’t be able to reach full hip extension at the top.
And if your bench is too low, your range of motion will be too short; you’d almost be performing a glute bridge.
Make your own adjustments
The regular gym bench could be the right height if you’re lucky.
But if it’s not for you, you’d have to find workarounds (e.g., using a foam pad to prop yourself up when the bench is too high).
In case you think your options are limited, check this out:
#2: Failing to achieve full hip extension
When would you find it easier to fully contract your glutes at the top?
When you’re just moving your body weight? Or when you’re moving a loaded, 100 kg barbell? Chances are, it’s the former.
So, don’t forget to remind yourself to truly lock out at the top whenever you hip thrust. Don’t blindly chase heavier weights and end up compromising on your form and glute gains!
Watch this for a clearer idea:
@laurensimpsonofficial Common hip thrust mistake & how to fix it! Let me know if this was helpful! 🫶🏼 #fyp #hipthrust #hipthruststip #glutegains #micdupworkout #gymtok #fitness #beginnergymtips #glutesworkout ♬ original sound - Lauren Simpson
#3: Letting your knees cave in during the movement
Keeping your knees out during the hip thrust maximizes glute activation, enables efficient force transfer, and reduces your risk of knee injuries.
If you’re struggling with this, practice your hip thrusts with a resistance band around your knees.
But just know that the band is simply a training tool — not a permanent addition to your hip thrusts.
Remove the resistance bands once you’ve corrected your caving knees.
How to incorporate the hip thrust into your training
To optimize glute growth, you should be training your glutes 2 to 3 times a week.
Of course, alongside the hip thrust, you should be doing a variety of glute exercises as well.
So, including the hip thrust 1 to 2 times a week is a reasonable approach.
Regardless of your choice, the most crucial things to remember are:
- You shouldn’t be doing only hip thrusts for your glutes: Your glutes — or all muscle groups, really — grow best with a variety of exercises that feature different resistance profiles, emphasize different regions within the specific muscle (e.g., gluteus minimus), etc.
- Stay consistent: Do the same exercises consistently for at least 3 months before deciding if they work well. It’s a long process measured in months — not days or weeks. What’s more important here is to keep making progress on the same exercises.
- Don’t neglect your other muscle groups: Big glutes may be all you want, but they aren’t all you need. Strong hamstrings, quads, and calves are all important for knee stability. So don’t just fixate on doing the hip thrusts and/or training your glutes!